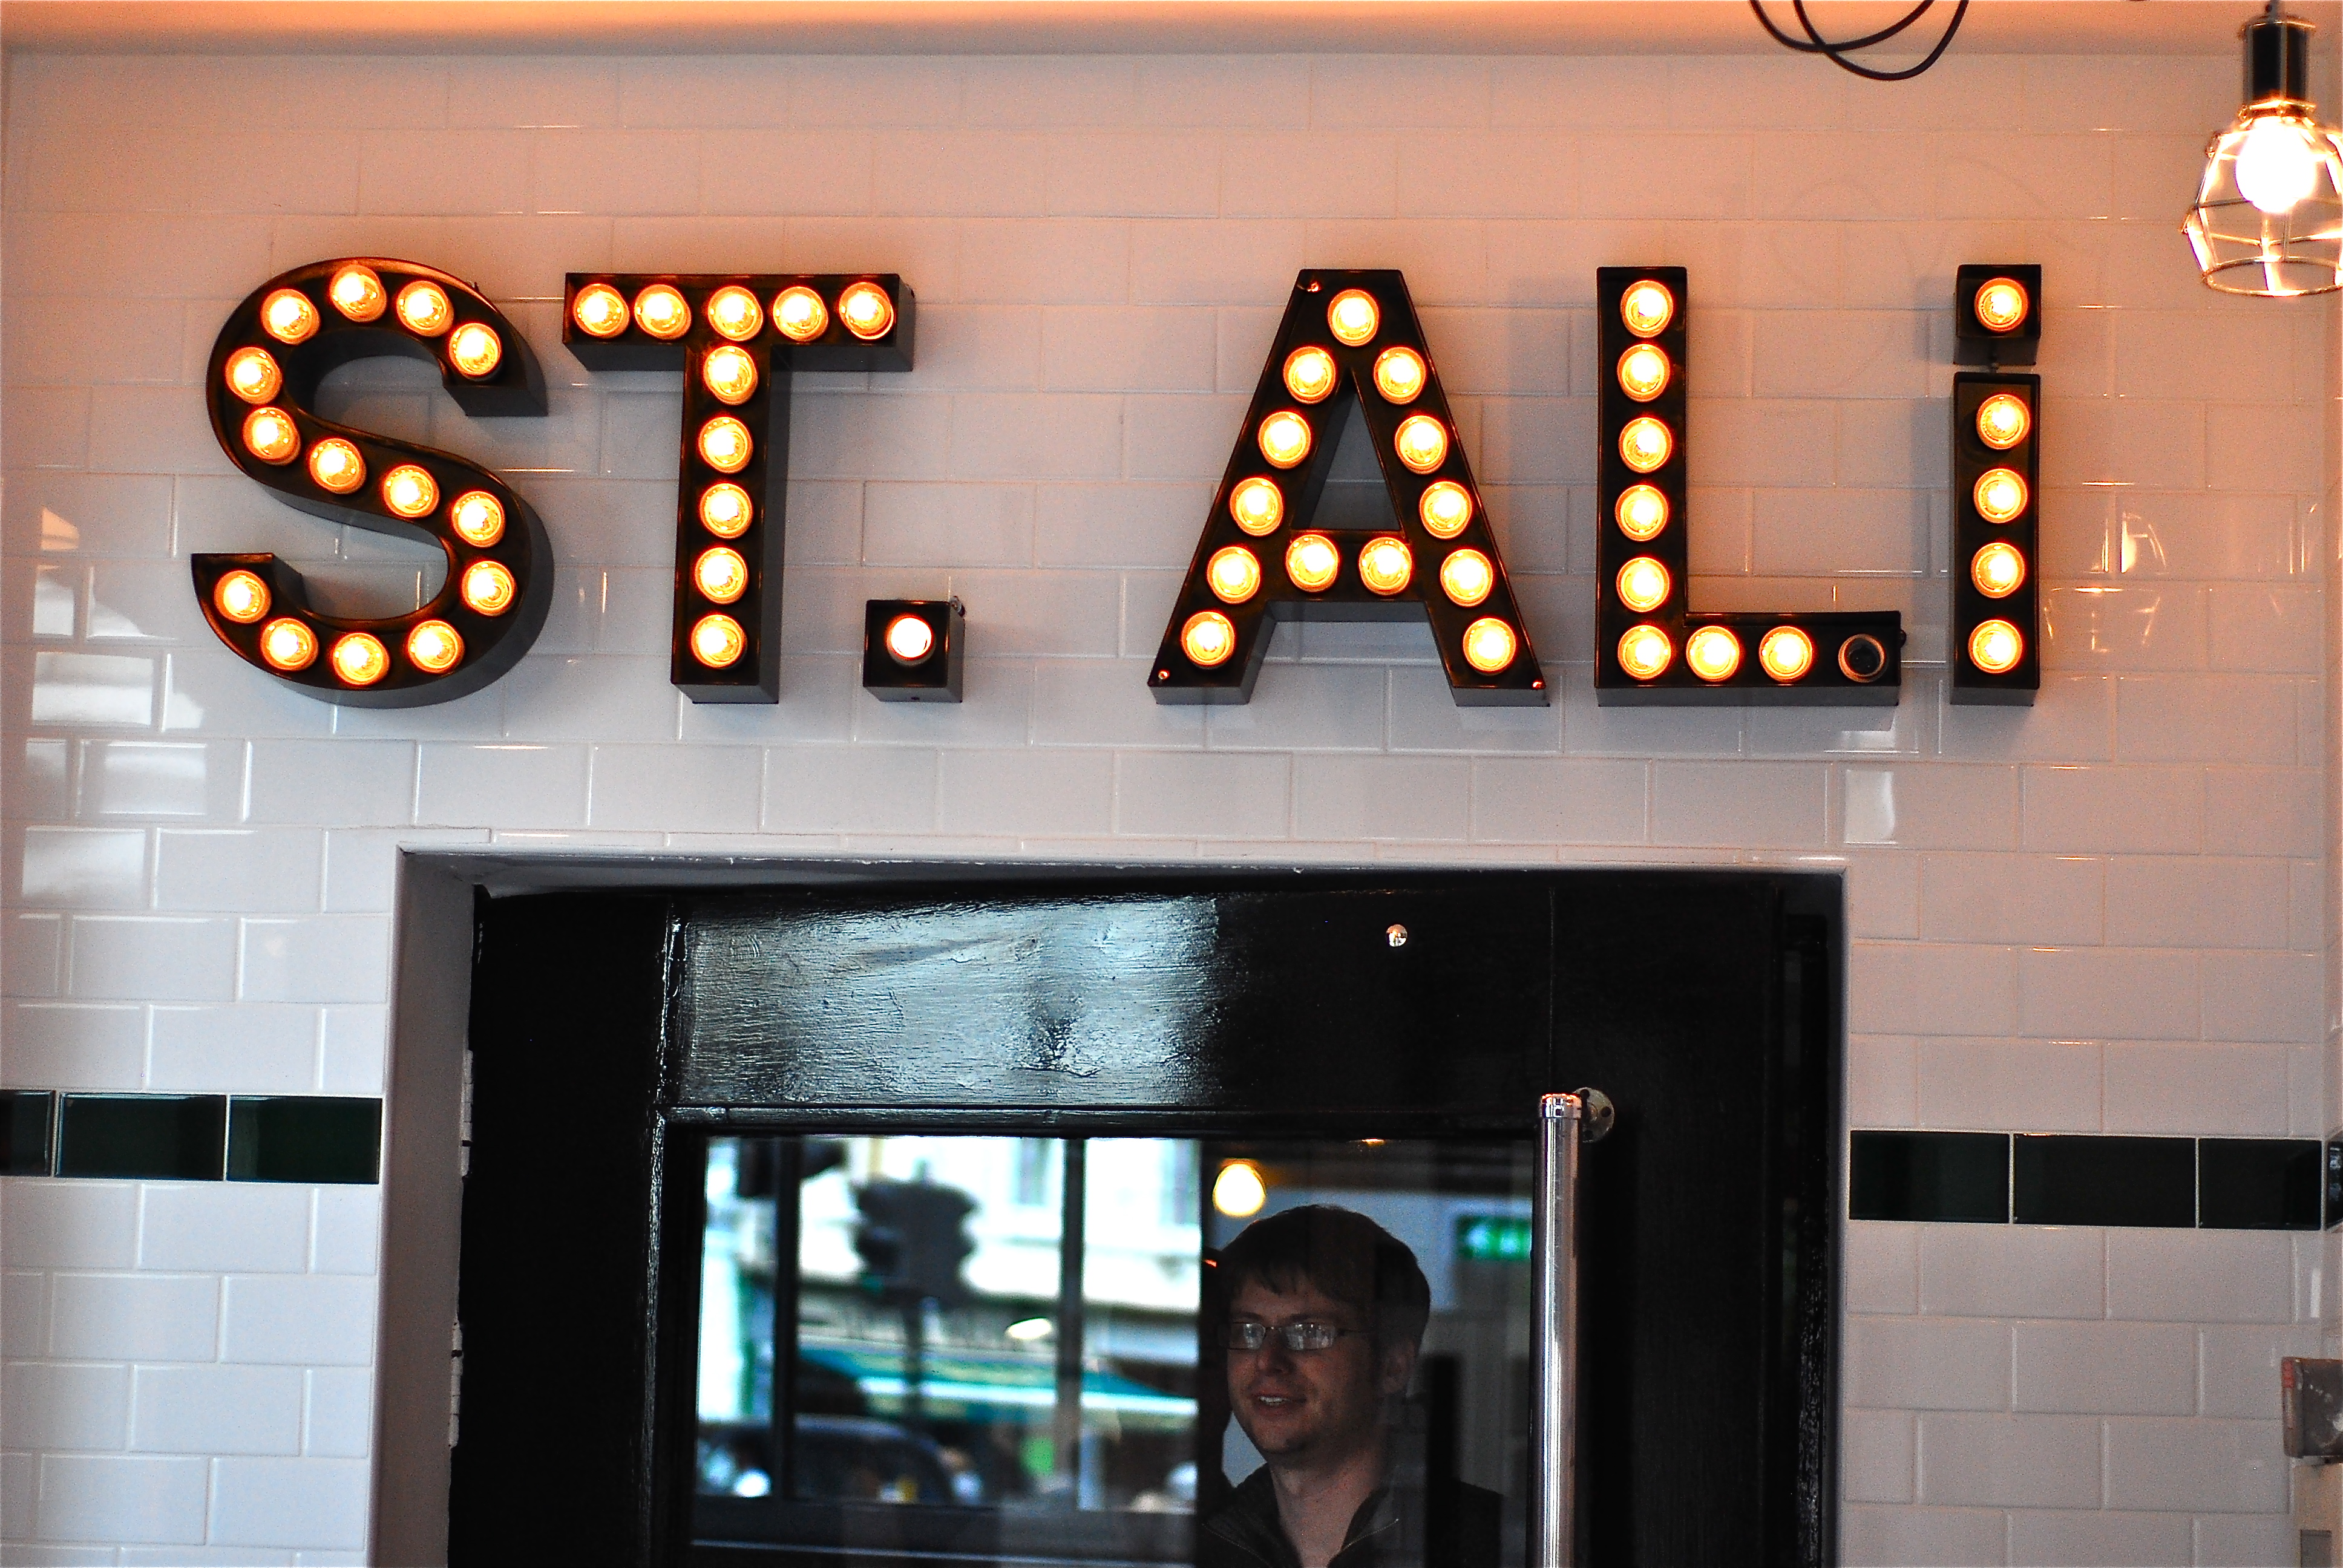

Not the ideal time to pop to London in the middle of winter 2012, but I was tempted by a few opportunities just a couple of weeks back to visit London again – my fave city and my fave city for coffee of course. If you know me by now, you won’t be surprised to learn that my first stop was at Prufrock Coffee Shop on Leather Lane again, – well ! I had to take a look at the new Kees van der Westen Spirit espresso machine and drink coffee from it didn’t I ? Sadly, I forgot my camera at the hotel, so no pics of this beauty from me, but I can say, surprise, surprise that the flat white I had was good as usual. After my staple of Prufrock coffee, I went almost around the corner to St Ali, Clerkenwell, for lunch and coffee (again). The beetroot salad was delicious but I decided to spoil myself by ordering the Colombian Gaitania on an aeropress – naturally sweet, medium acidity and very pleasant to drink.
I decided to finish my day with a place that I’d dreamed about visiting, Tapped and Packed on 26 Rathbone Place in Central London. The vibe was English cool and although there were only two staff at the time, Louise, the main barista, managed to handle the small crowd that was pouring in at about 4pm. I sat down on a bench inside the cafe, flicked through the British newspapers, dug into my double stacked very English Victorian Sandwich Cake, spilling icing sugar onto the floor, washed down with some water, before savouring my 3rd Wave coffee, an El Salvador Finca La Fany, prepared on the Hario V60, roasted by Has Bean Roasters. I enjoyed my caramel sweet coffee.
Day 2 was a bit of a disaster on the coffee side, as after almost 4 hours of 1 interview, I didn’t get to taste coffee until 4pm – ahhhh ! now that’s a long time for me, but my coffee pangs were satisfied with a 150ml flat white at Speakeasy Espresso & Brew Bar, Coffee Smiths second shop, on 3 Lowndes Court, just off Carnaby Street in Central London. I also had the pleasure of having a nice Brazilian coffee (forgot the name), using the Filtro Brewer offered by the owners, Chris and Tim – thanks! Speakeasy decor is similar to most of the new coffee shops, but they’ve tried to arrange the seating in a manner that allows you to “speak easy – ily”, so most of the customers appear to be having meetings in hush hush tones – for a quieter meeting, there’s a downstairs seating area in the basement, airy and not stuffy at all. As with all the new age cafes, they’ve got a selection of coffees for you try to go with a handsome selection of cakes and pastries – all the lunch sarnies had gone.
From then on, I was kind off free to visit and sample coffees from different cafes, but I must confess, I confined myself to places that I had missed on my last coffee tour in April 2011.
Day 3, I headed off to unknown territory, Canary Wharf – Yes! after so many years of living and visiting London, I had never been to Canary Wharf. I must admit,it seemed a bit surreal – like Dubai in a way – new and straight roads with new buildings and skyscapers, BUT tucked in there was a superb coffee shop, who never compromise on quality and who seem to be raising the standard, in a tough city like London, for the expansion of high quality coffee and this can only be….

That is long for Taylor Street Baristas and NOT Taylor Saint Baristas (I thought it was the latter when I first saw the name). A very short history – Taylor St Baristas is made up off siblings, Nick, Laura and Andrew and have been operational for 7 years. Their first shop was in Richmond and they have just have opened their 8th shop (Exchange Tower in South Quays, about 10 minutes walk from their 7th shop in Canary Wharf). I was lucky enough to meet all three of them and I must say they were really friendly and warm – naturals. I think their characters together with their knack (English for talent/gift) for getting excellent locations, serving great coffee and their vision means that they have a long way to go on the road to more success. I promise a separate post on their Canary Wharf branch, which I went to twice.
I finished off Day 3 with a visit to Notes, Music & Coffee second shop, 36 Wellington Street in Covent Garden (I went to shop 1 in April 2011). The decor and ambience was reminiscent of a Parisian cafe and I told the owner Fabio that, whom I met for the first time – call it Continental cool. Well, they’ve been consistent with the gear here as they also have a La Marzocco Strada together with all the other stuff you’d expect as well as a selection of coffees. I could resist the temptation to order the Brazilian Capao (my favourite coffee of 2010), roasted by Square Mile Coffee Roasters, prepared on the V60. Although I enjoyed my coffee, I detected that this seasons’ harvest (probably from 2011), wasn’t on the same level as the 2009/2010 one, which completely blew my mind. I got an added bonus by bumping into Mr London Coffee Celebrity himself, James Hoffmann (Square Mile Coffee) after meeting with the UK operators of New Zealand outift, Ozone Coffee Roasters (Liz Bain and James). Slight digression, but Ozone Coffee Roasters are quite big in New Zealand and are planning on opening their first international shop this March in London, located at Leonard Street, just off the Old Street Circus bordering Shoreditch/Clerkenwell/the City.
For Day 4, it was off to the West End in Central London to do some shopping for the family and for my palate, so I stopped off at newbie Sensory Lab – sister shop of St Ali. Sensory Lab is on 75 Wigmore Street, just off St Christophers Place in the direction of Selfridges Department Store.

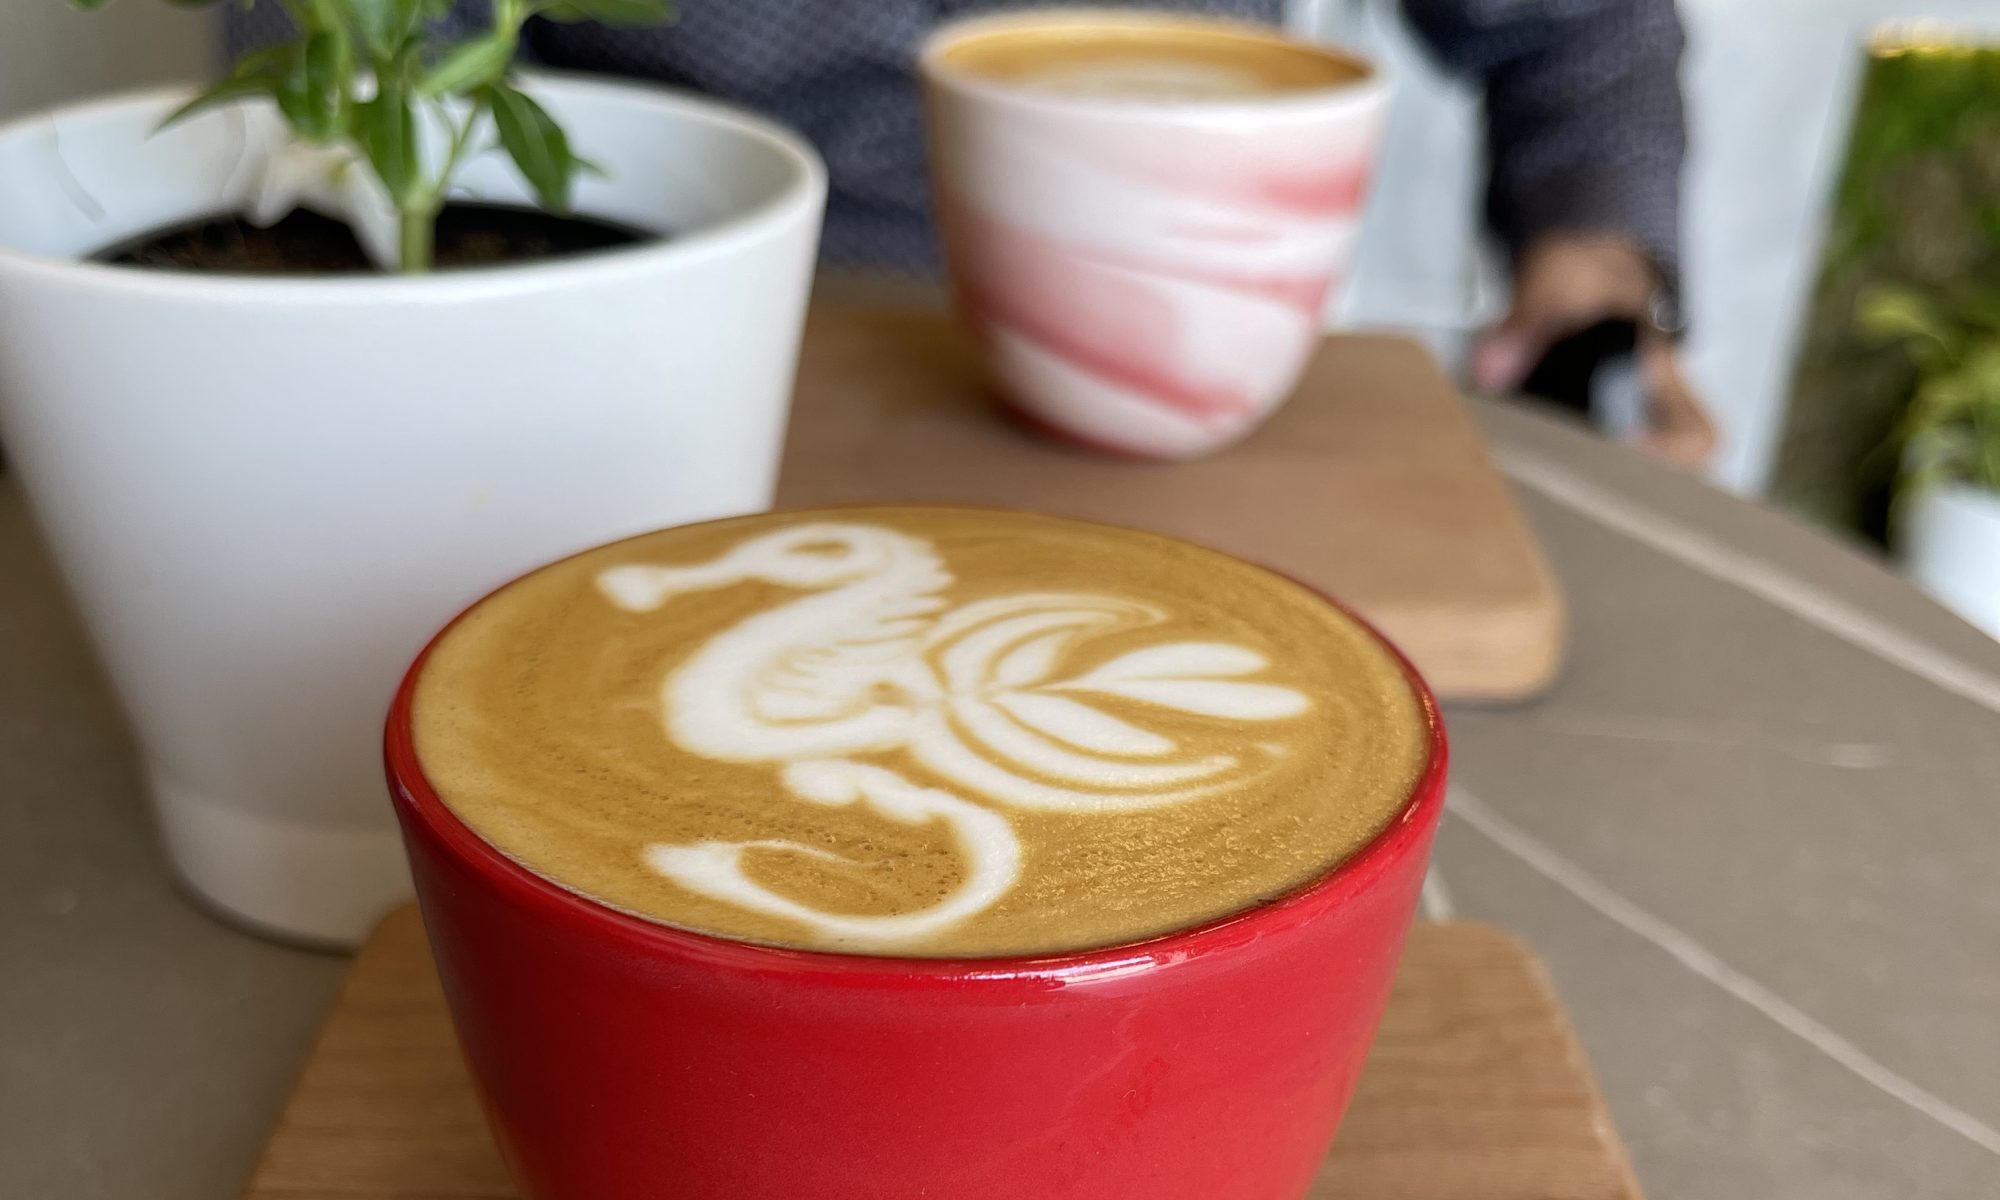
Sensory Lab is well kitted out with a Synesso Cyncra espresso machine, Uber Bolier to help accurately prepare aeropress, V60 coffees et al. They have a coffee menu with a selection of coffees. It is easy to be intimated by the decor as you enter the coffee shop with the rows of coffees, coffee equipment and blue grey walls, but all this will be softened by the attendant, friendly and knowledgeable staff. I went for my usual milk based morning drink, Cappuccino, made with St Ali’s Cult of Done Espresso.

With a nicely laid out stash of coffees, I couldn’t but, grab a bag of the Colombian Gaitania, that I had had earlier in the week.

took some pics and left for lunch on Australia Day at…
Kaffeine – where I enjoyed my scrumptious lunch “bufala mozzarella, spinach and chimichurri retro baguette (this was my second attempt, as it was sold out the day before), finished off with my best espresso of my trip, Square Mile Coffee Red Brick Espresso Blend – yum, full on. I really wanted to take a pic but Kaffeine was so packed, I barely got enough arm room to eat my sandwich. The staff, including Peter Dore-Smith (the owner), were completely swamped with customers queing and pouring in and out of the cafe.
After all the pics I’ve seen of the place, I had to make the trek to finish off my London cafe expedition with a visit to finally meet, Sang Ho (aka Korean Barista) at Tapped and Packed 114 Tottenham Court Road. Full as ever, from what I read, there was no space to sit down. The decor is brown, with a mirror used to list their coffees and prices. As you enter, all the seating area is along the windows dotted like a square shape. Next to the till, they have a coffee recipe for third wave coffee, where I was treated to an “on the house” Brazilian Capim Branco prepared on the Hario V60 by Sang Ho himself (a day before he was crowned barista champion in the South East England heats).

Next to the V60 station, there’s the uber cool, copper water tank, where regulars know this is where you get your water from. The pic at the top of this post is located just outside their shop, but I couldn’t resist snapping away at these flat whites, waiting on the side, prepared by their custom made Nuova Simonelli, with wooden porta-filters and trimmings.

After a brief chat with Sang Ho about coffee I realised that it was the end of my coffee tour. As I walked down Tottenham Court Road towards Oxford Street, I noticed lots of coffee shops, but if people knew about Tapped and Packed, near Warren Street Station, I don’t think they’ll compromise on their taste buds to buy coffee at the coffee chains and pretenders nearby.