Sometimes, I’m quick to pick up on things and sometimes, I’m not, like when the CD player came out in the 1980’s. Back then and well into the 1990s, I was really into music and even contemplated becoming a DJ (hard to believe for those who know me, but true – i even had a stage name) but I was an ardent vinyl collector and loved the vinyl sound, so, I refused to succumb and buy a CD player, but eventually I gave in. So, I confess being the victim of my own snobbishness, when I first read about the Aerobie AeroPress on coffeegeek.com years back. But on this occasion, I have 2 excuses – the labeling on the original aeropress package advertising it as an espresso maker and the not very favourable review of the aeropress on coffeegeek.com. Of course I was confused, after reading all that stuff about what espresso is and isn’t and then, out comes this plastic looking contraption trying to change the rules. Fast forward, and hey presto, the aeropress is big news the world of coffee over. Hmm ! should I give it another chance ? But, of course, if all the people I respect in coffee are going on and on about it, so I did.
First up, I’m happy that they don’t advertise the aeropress as an espresso maker, but they do have the other claim “the best coffee maker you’ll ever own” (not on the UK packaging, which has pics of James Hoffman and Gwilym Davies). That leads to my second point, “REALLY !!!” the best coffee maker you’ll ever own ?” – well ! that’s if you don’t own a La Marzocco, a Synesso, a Slayer – you get my point. BUT I do have to confess, using the aeropress in my way was a taste opener.
I was really excited when I got my first aeropress, but I have to confess, when I prepared coffee following the instructions in the leaflet, I thought “is that it?”. So, over the last few months, I’ve developed my own way of preparing it, which I find quite delicious, especially for my last cup of coffee of the day. So, how do I do it…
FIRST – Boil the kettle. After which, place the micro filter into the chamber & twist into place and place about 100ml of cold water and let it drip through into a container – I find a 600ml milk frothing jug the best.

SECOND – As soon as the water has boiled, pour up to “4” on the plunger. Let it rest for about 2-3 minutes. You don’t want to use boiling water, but just off the boil. You can check the temperature if you want, but between 85C to 90C is ideal.

THIRD – Measure 20g of coffee and pour into your grinder.
FOURTH – Discard the water that went through your micro filter in STEP 1 above.
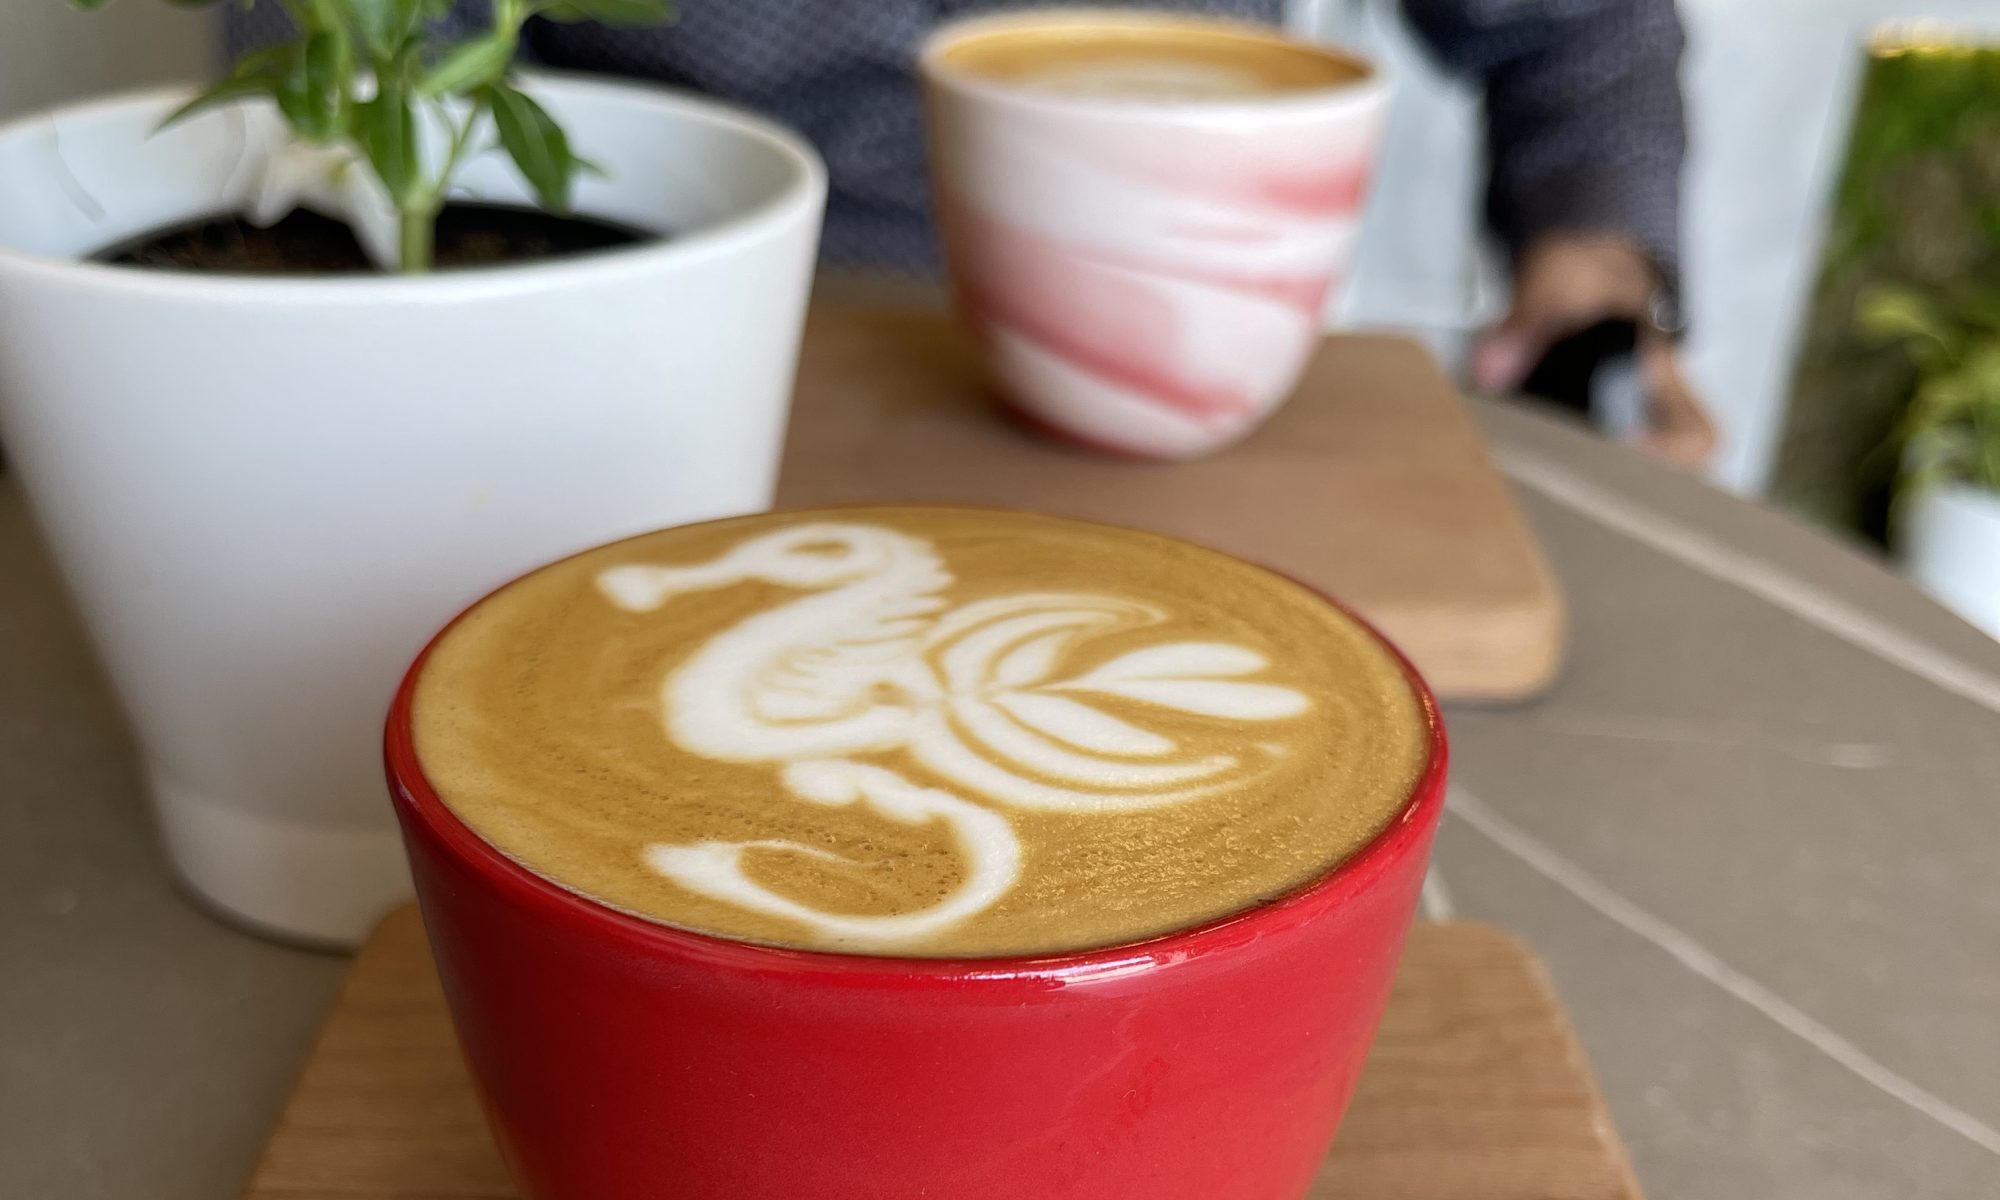
FIFTH – Grind your coffee and place into the chamber. I grind slightly finer than for a French Press and not the recommended “espresso grind” on the instructions.

SIXTH – Pour your hottish water into the chamber in a circular motion so that the hot water touches all the freshly ground coffee. You will see a bloom coming to the top (see pic above). COUNT TO 10 SECONDS and press the plunger through the chamber with coffee and hot water gently BUT firmly.
SEVENTH – Enjoy, either with half a spoon of demerara/brown sugar or alone.
WHAT’S DIFFERENT ? I didn’t stir the coffee with the paddle and I didn’t take more than 20 seconds to brew.
WHAT’S THE GENERAL TASTE PROFILE ? a light aroma and taste, clear with medium to low acidity detected on your tongue, natural sweetness, usually with soft citrus and light caramel taste – I’ve just finished one as I write this.
OK! I hear some coffee connoisseurs screaming “how can the brew method alter the acidity ?” Well ! It does, is the simple answer. To test this, I confess that I usually brew using Espresso Lab (Cape Town’s top roaster) beans, where they source top arabica beans (Serra do Bone is Intelligentsia Black Cat Organic) and they roast more to bring out the fruitiness in coffee, as opposed to dark. Fine, but when I went to Prufrock, Gwilym gave me Square Mile Coffee Roaster’s Tanzanian Blackburn Estate coffee and the Bolivian Colonia San Juan 8 Estrellas. On the latter, it was still a light taste, but with the Blackburn Estate (great for a morning cuppa as it was heavier) although it was bolder, it still had that refreshing lightish taste.
I’ve tried the invert process (basically, do it upside down, and place the filter at the end to press through, see below), favoured by Mark Prince of Coffeegeek, but I wasn’t impressed with the taste profile, I got, so I’m still stuck to my way.

BRAG OF THE POST: I was pleasantly surprised to be asked by Gwilym how I prepared my aeropress coffee and after summarizing the above method, I was pleased to learn that we share the same method, yipee.
One more confession from the aeropress is that I find it still brings out a reasonable taste from old beans (i.e. roasted longer than 4 weeks ago). I know this, because although there’s tons of coffee at my caffe (escape caffe), I find myself scouting around my home for coffee and I’ve got to have that aeropress at night, and finding something roasted over month ago, still works in the aeropress for me.
Enjoy !
